
Linksys Velop is a powerful mesh setup that is designed to provide seamless and maximized internet speed across the home. Setting up this complex mesh system might be challenging, that’s why it is necessary to start it with the right knowledge. So, in this post, we will cover what you will need to be aware of and consider for Velop setup.
Understand Mesh Network Setup
The first thing you must do before starting the Linksys Velop setup is to familiarize yourself with the mesh setup. Obviously, understanding this fundamental concept and system will help you achieve the setup successfully and optimize the network efficiently.
Unlike traditional routers, this system consists of multiple interconnected nodes to create a single and combined network. Each node in the setup communicates with each other for signal transmission and ensures a strong and consistent WiFi signal. The child nodes are placed in corners of your house, and work to cover the WiFi dead spots.
Check Linksys Velop Manual Setup Guide
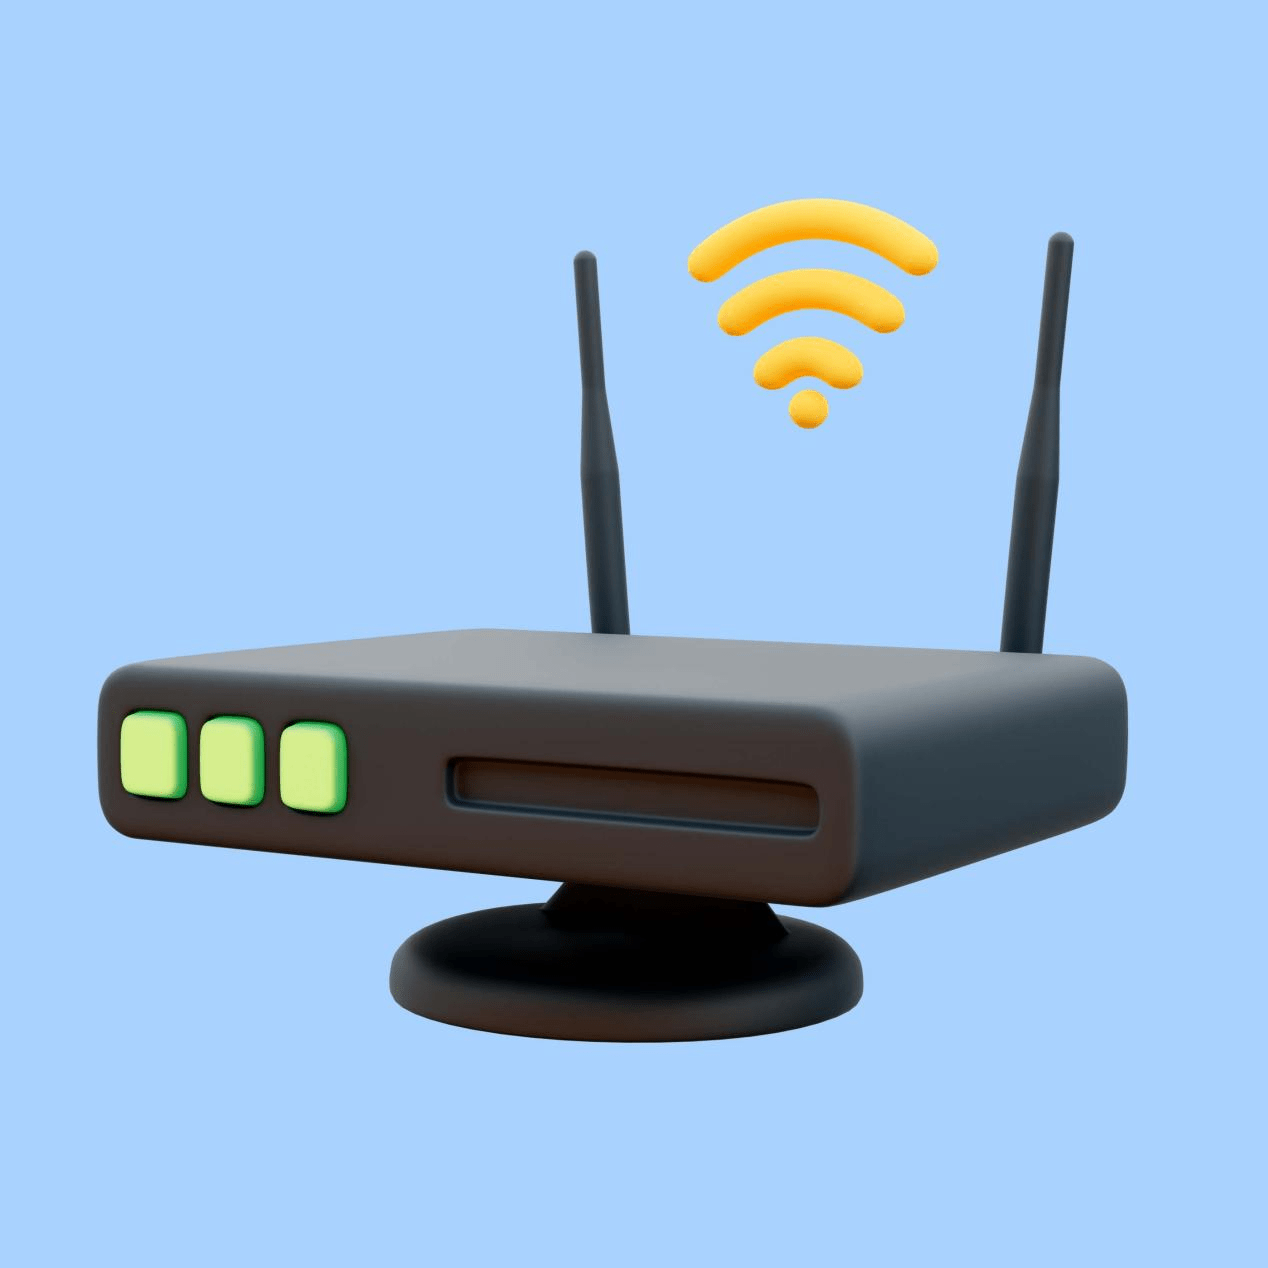
As you get the Linksys Velop setup packed box and unbox it, there will be a few things there. Which are the Velop parent and child nodes, ethernet and power cables, and lastly a quick manual setup guide. So, you must go through that guide to know more information about your product and some basic details. Which will help you a lot in configuring your parent node using the default details.
Verify The Required Nodes
For your bigger house or ample office, you might need multiple nodes to cover every corner with WiFi signals. That’s why, it will be beneficial for you to determine the nodes required by your place for optimized WiFi coverage. As Linksys offers different packages, single, double, and triple nodes you need to select the Velop setup accordingly.
Select The Placement Ideally
Choosing the right location for the nodes is equally important for getting optimal internet speed and achieving a successful setup. Also, as you choose the several nodes setup, there will be a need to place them strategically. Try to move the parent node at the center of your house and the other child nodes at the corners. Which ensures that they are evenly distributed to provide uninterrupted WiFi signals.
Avoid Obstructions In Signals
While you place the nodes accordingly, you must keep them away from electrical appliances or other metallic things. Such as refrigerators, microwave ovens, Bluetooth devices, 2.4 GHz cordless phones, baby monitors, and others. Apart from that, thick concrete walls can create barriers in signal transmission so don’t place the node behind or closer to them.
Gather Required Things For Setup
The other major point here is to be equipped with the Linksys Velop setup prerequisites by collecting some items. You will need to use them during the setup so try to collect them before moving to the setup to avoid hassles. These are:
-
Your Linksys Velop and its default login credentials including the username and password
-
Also, the default web and IP addresses of Linksys to access the setup window
-
Your existing modem and its SSID network name and password as well
-
Additionally, there must be an active internet connection on the modem
-
Lastly, your device and access to its compatible web browser and the app store
Download & Install The Linksys App
Now, start the process by getting the Linksys WiFi app once your Velop node is ready for its setup. Choose your preferred device from Android or iOS and install the Linksys WiFi app from the app store. This portal will walk you through the entire setup process including the login, setup, and network management. Make sure you download the app which is the latest, default, and official. Afterward, get yourself familiar with the app interface and its features before you start the setup.
Log Into Velop Using Default Details
As you reach the login window or dashboard of your Linksys Velop interface there will be two empty fields. Such as the username and password of your Velop that you need to enter by default. As we mentioned in the prerequisite you need to collect the login default details, be prepared with them for this. Ensure there are no spelling mistakes in the username and password. In doing so, you will be on the Linksys Velop setup window on the next page.
Create a Linksys Account
To move further with the setup process and monitor your Velop network remotely, you will need to create a Cloud Account. So, make a new Linksys account after logging into the Velop and set a new password as well. This account will serve as your gateway to monitoring your network, security, and other options.
Follow The App Screen Directions
When you have successfully logged into the Linksys WiFi app, start following the app setup provided instructions step-by-step. The app will walk you through the process of connecting and setting up your Velop parent node. Also, set up your WiFi name, and password, and customize your settings to your preferences. Pay close attention to every step and insert accurate information for an error-free setup.
Thus, confirm now, that you succeed in setting up the Velop after becoming fully aware of this using this guide. However, if you require more help with this or another query, contact our tech experts.