Introduction
Welcome to the world of better sleep and enhanced room ambiance! In this step-by-step guide, we’ll explore the process of installing blackout drapes. Whether you’re a DIY enthusiast or a beginner looking to improve your living space, this guide is tailored for you.
Understanding Blackout Drapes
Blackout drapes, also known as curtains or blinds, are designed to block out external light and noise. Their primary purpose is to create a comfortable and dark environment, ideal for quality sleep and energy efficiency.
Choosing the Right Blackout Drapes
-
Size Considerations
Before diving into the installation process, it’s crucial to choose the right size. Measure your window dimensions accurately to ensure a perfect fit.
-
Fabric Options
Selecting the right fabric of blackout curtains in Dubai is essential. Opt for thicker materials like polyester or suede for better light-blocking capabilities.
-
Color and Design Tips
Consider the overall aesthetics of your room. Choose colors and designs that complement your existing décor.
Tools and Materials
Gather the necessary tools, including curtain rods, a drill, screws, and, of course, your chosen blackout drapes.
Preparing the Installation Area
Measure twice, drill once! Ensure your window area is clean and ready for installation by dusting and cleaning surfaces.
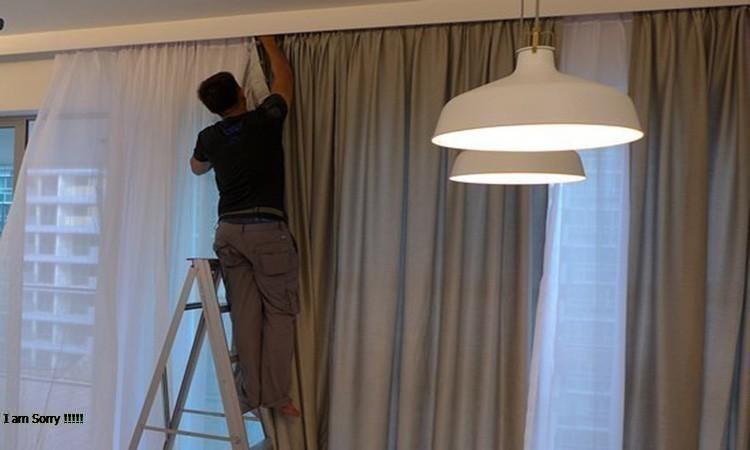
Step-by-Step Installation Guide
-
Installing Curtain Rods
Begin by installing curtain rods securely. Use a level to make sure they are straight and evenly spaced.
-
Hanging Blackout Drapes
Attach the drapes to the curtain rods carefully. Ensure an even distribution for a polished look.
-
Securing and Adjusting the Drapes
Once hung, secure the drapes in place and adjust their length to ensure they touch the floor evenly.
Troubleshooting Tips
-
Dealing with Wrinkles
If your drapes have wrinkles, use a steamer or iron on a low setting to smooth them out.
-
Adjusting Uneven Lengths
Ensure that your drapes are evenly aligned by adjusting the height of the individual panels.
-
Ensuring Proper Light Blockage
Check for any gaps or spaces where light may enter. Adjust the drapes accordingly for optimal light blockage.
Maintaining and Cleaning Blackout Drapes
Regularly vacuum or dust your blackout drapes to keep them clean. Follow care instructions for washing and removing stubborn stains.
Benefits of Using Blackout Drapes
Experience improved sleep quality, enhanced energy efficiency, and a more aesthetically pleasing room with blackout drapes.
Real-life Experiences
Hear from individuals who have transformed their spaces and sleep routines with blackout drapes. Real-life success stories await!
Frequently Asked Questions (FAQs)
How long does it take to install blackout drapes?
The installation time varies but typically takes a couple of hours, even for beginners.
Can I use blackout drapes in any room?
Absolutely! Blackout drapes are versatile and can be used in bedrooms, living rooms, or any space where you want to control light.
Are blackout drapes suitable for different climates?
Yes, blackout drapes provide insulation and can be beneficial in both hot and cold climates.
What is the average lifespan of blackout drapes?
With proper care, blackout drapes can last for several years, making them a durable investment.
Do blackout drapes require professional installation?
While DIY installation is possible, professional installation ensures a flawless finish and optimal light blockage.
Conclusion
Congratulations on successfully installing blackout drapes! Enjoy the benefits of improved sleep and a cozier living space. If you haven’t tried blackout drapes yet, now is the perfect time to enhance your home.